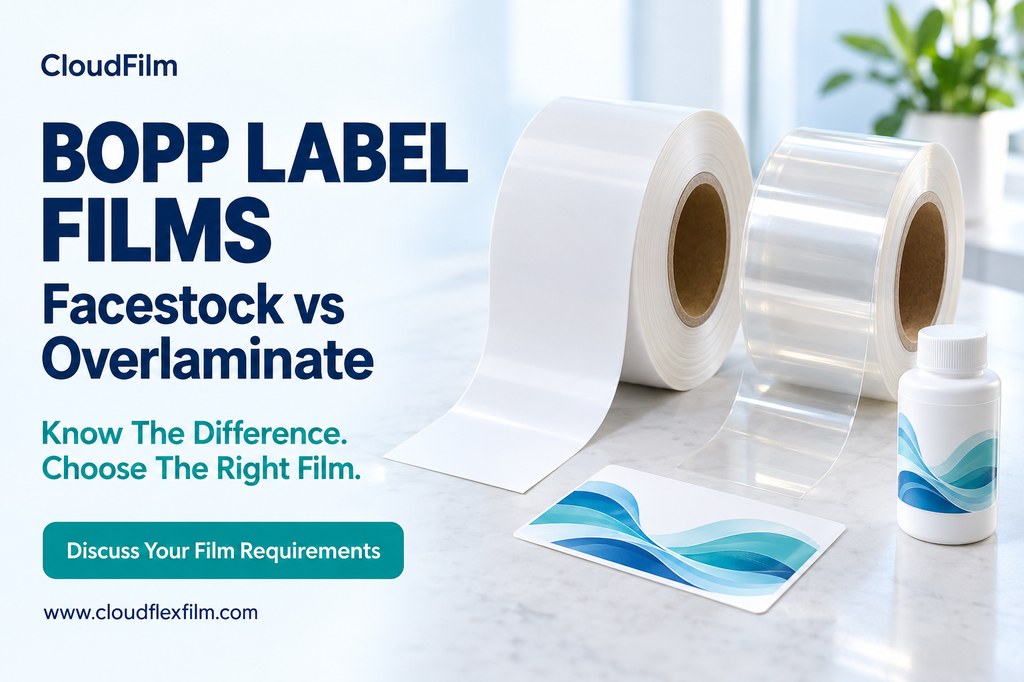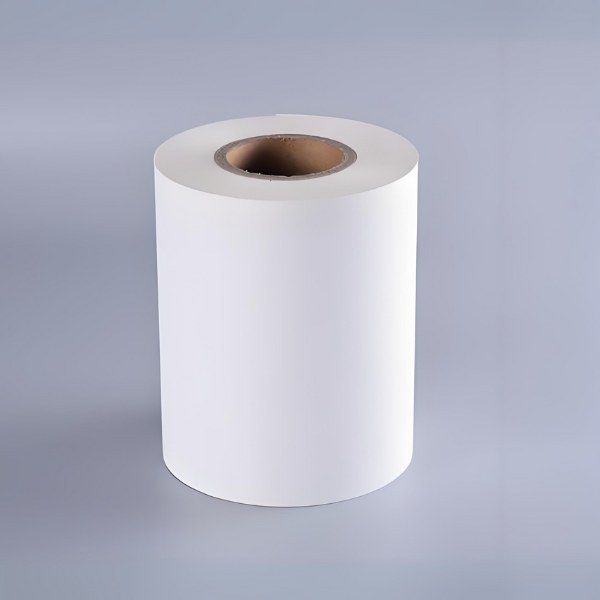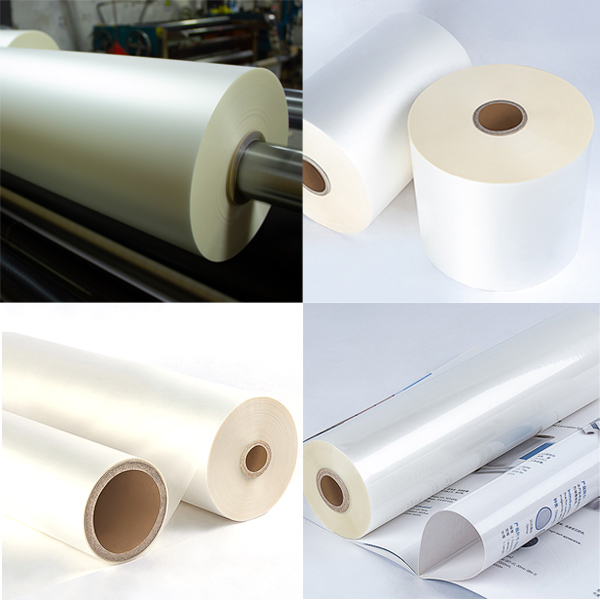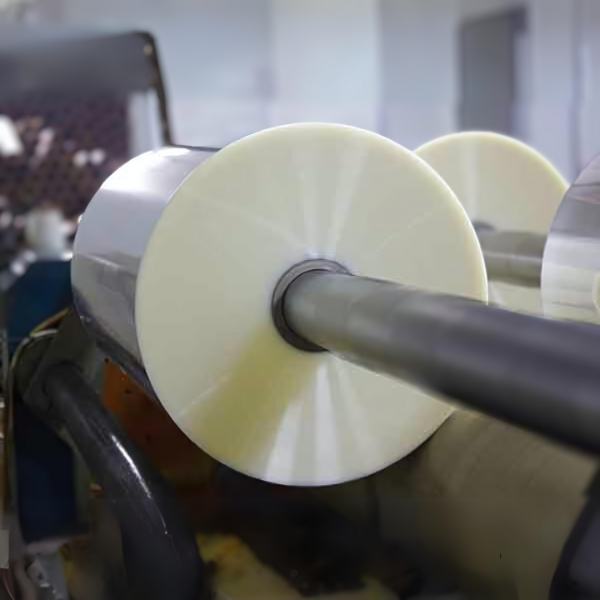
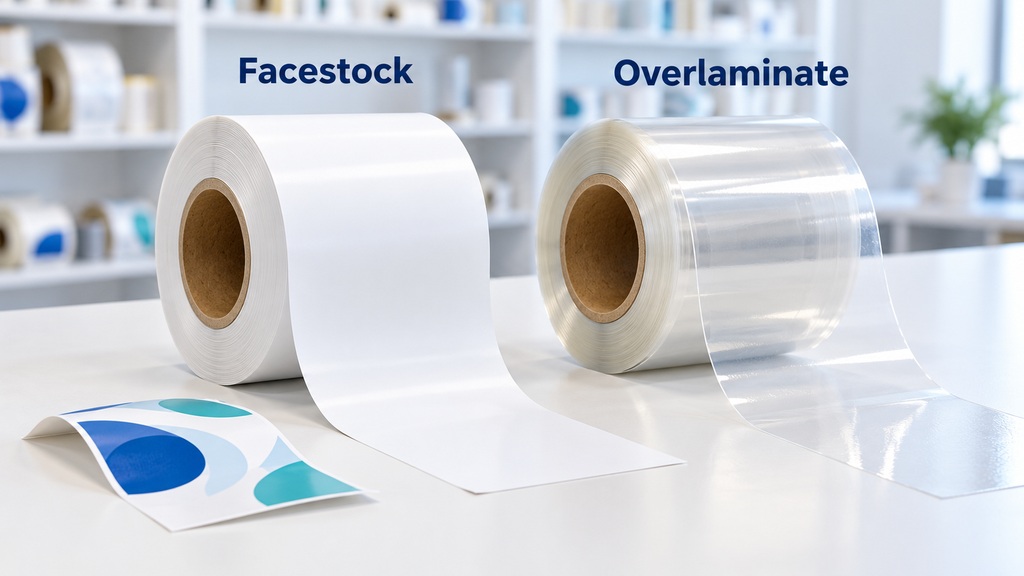
BOPP label facestock is the film that forms the label body and carries its main printed design. BOPP overlaminate is a separate film added over that design for protection or a chosen finish. Both may use polypropylene, but they perform different jobs.
The purchasing decision starts with two questions: which layer do you need, and how much converting has already been done? An uncoated film roll, an adhesive labelstock and a ready-to-use overlaminate are different purchases, even when all three are described as BOPP.
This guide focuses on selecting materials for pressure-sensitive labels and their protective layers. For a broader introduction to label types and applications, see our BOPP labels materials and buying guide.
Identify the layer before choosing the grade
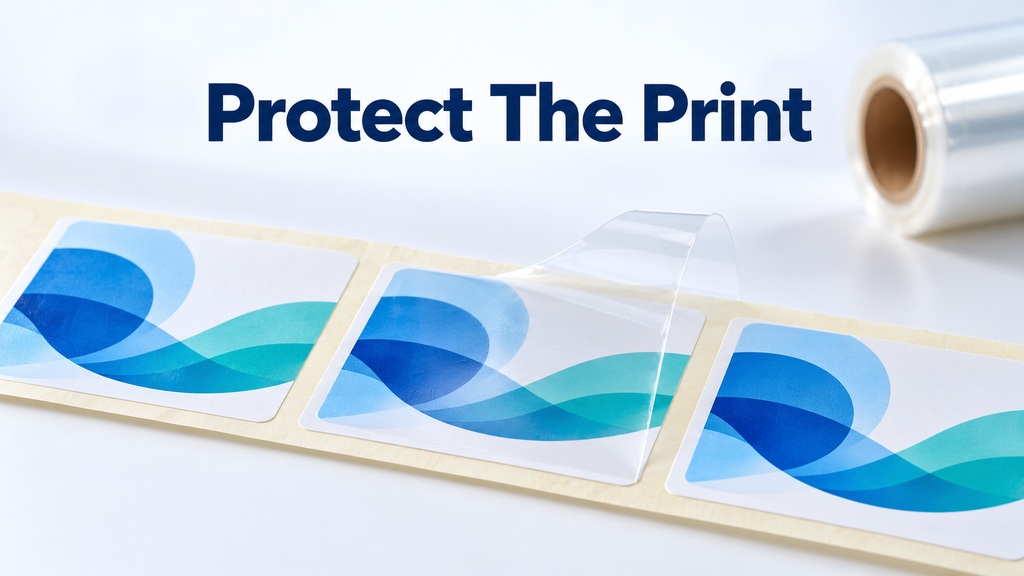
In a typical surface-printed, overlaminated self-adhesive label, the protective film sits above the ink. The facestock supports the ink below it. A separate adhesive on the back of the facestock attaches the finished label to the container.
Before application, that container adhesive is protected by a release liner. The liner is peeled away during labeling; it is not the protective film that remains over the printed design. Mixing up these two films can lead to an entirely wrong purchase.
| Point to compare | BOPP label facestock | BOPP overlaminate |
| Main role | Forms the label body and supports the main graphics | Covers and protects the printed construction |
| Typical appearance | Clear, white, opaque or metallized grades | Usually transparent, with gloss, matte or another specified finish |
| Important interface | Print surface to ink; reverse surface to label adhesive | Bonding layer to printed surface; outer face to the environment |
| Typical buying decision | Which face material suits printing, conversion and application | Which film and bonding system suit the existing printed label |
| Adhesive status | Bare film and adhesive-coated labelstock are different supply forms | Bare film, adhesive-coated and heat-activated forms require different processes |
| Thickness to clarify | Face film thickness versus complete labelstock caliper | Film thickness versus film-plus-adhesive thickness |
There can be two independent adhesive systems in the same finished label: one holding the overlaminate to the print, and another holding the label to the package. Strong bonding at one interface does not establish good adhesion at the other.
Reverse printing and other constructions can change the layer order. Request a simple cross-section showing the print location, coatings and adhesives. Use that drawing as the reference for the quotation, trial and approved specification, rather than relying on a product name alone.
Confirm exactly what arrives on the roll
Bare film for further conversion
Bare facestock film may require printing treatment or a suitable coating, plus adhesive coating and combination with a release liner. The converter needs to know which operations remain. A plain film roll is not ready-made self-adhesive labelstock.
Likewise, a bare film intended for overlamination needs a compatible bonding process. Ask who supplies and applies the adhesive. The film purchase should match the coating or laminating equipment that will actually be used, including its drying or curing requirements.
Adhesive labelstock for a label printer
Labelstock normally combines a face material, a pressure-sensitive adhesive and a release liner. A printer can then print and convert that construction. Its specification must identify all three components, not simply the polymer used in the face material.
Ask whether the quotation covers unprinted labelstock or finished printed labels. Printing, die-cutting, matrix removal and final winding can materially change the delivered product and price. A description such as white BOPP does not settle these questions.
Adhesive-coated overlaminate for finishing
A self-wound overlaminate carries adhesive and unwinds without a separate disposable liner. Other overlaminates are supplied on a liner. Check the actual format, how the adhesive is protected in the roll, and whether your machine can handle that format.
Confirm which face contacts the print and which remains exposed. Also identify any surface release treatment. A film that unwinds smoothly may need a specifically printable outer surface if a later operation adds dates, codes or other information.
Thermal film for a heat-activated process
BOPP thermal lamination film uses a heat-activated coating. It belongs to a different process from a pressure-sensitive overlaminate applied through a nip. Similar appearance does not make these products interchangeable.
Before considering a thermal route, check the temperature tolerance of the printed construction, adhesive and liner, as well as the available equipment. Obtain the grade-specific processing guidance. A setting used successfully on printed paper is not automatically appropriate for a film label.
Specify the facestock around printing and application
Choose the visual base
Clear facestock allows the container or contents to contribute to the appearance. White and opaque grades provide a background for the artwork. Decide which result is intended before choosing a grade, especially when the same design will be used on different container colors.
Approve a printed sample on the actual package. A clear film viewed loose against white paper can look different once applied to a filled bottle. Check white ink coverage, fine text and the barcode background within the finished design.
For an opaque, paper-like option, BOPP synthetic paper is a relevant material family to discuss. Specify the required opacity, stiffness and converting route; the category name alone does not establish compatibility with every pressure-sensitive label application.
Match both surfaces to their next operation
The printing face must work with the intended ink or toner system. The reverse face must work with the adhesive-coating process if you are buying bare facestock. Request a side-by-side description of the treatments or coatings, with the winding orientation identified.
A digital printing requirement should name the press and ink or toner technology. The word digital covers different processes. For BOPP printing film, ask for the proposed grade and any required primer, rather than assuming every printing film is suitable.
Surface-treatment readings can help control a process, but they are not a substitute for a print-adhesion trial. Agree the test method, the side tested and when the measurement is taken. Use the actual ink system in the approval trial.
Balance handling and conformity
Specify face-film thickness separately from total construction thickness. The liner, adhesive and optional overlaminate also influence how the web handles. A thickness change should therefore be checked through printing, die-cutting and dispensing, not only against a film micrometer reading.
For small-radius or squeezable containers, test the finished label during realistic handling. Excessive stiffness, an unsuitable container adhesive or application conditions can contribute to edge lift. A satisfactory flat-panel sample does not settle performance on a curved or deforming package.
Select the overlaminate for the printed surface
Define the problem it must solve
Write a specific requirement: prevent visible scuffing during transport, maintain readable graphics after repeated wiping, or provide an approved matte finish. These descriptions are more useful than requesting a general-purpose protective film with no acceptance criteria.
Identify the exposure precisely. Water splash, condensation, oil contact and repeated cleaning are different tests. Name the liquid, contact duration, temperature and whether rubbing occurs. Approval should cover the finished printed construction, including its edges, rather than the clear film alone.
Outdoor durability needs separate consideration of the film, bonding system and print. A transparent BOPP layer should not be treated as a universal UV-protection claim. Request evidence for the proposed construction and the expected exposure before making a service-life commitment.
Match the adhesive to the print
The laminating adhesive contacts the printed surface, which may include ink, toner, varnish or a topcoat. Give the supplier those details. An adhesive that performs well on unprinted film may behave differently over a dense printed area or a different print chemistry.
Allow the print to reach the drying or cure condition required by its supplier before lamination. Then evaluate bonding over both printed and unprinted areas. Record where separation occurs: within the ink, at the ink-to-film interface, or at the laminating adhesive.
Approve the finish as part of the label
Gloss and matte finishes can change how colors, fine details and reflected light appear. Review finished samples under the lighting in which the package will be seen. Compare approved references rather than relying on the description matte or high clarity.
BOPP matte film can be considered when a low-gloss surface is needed. Confirm whether the proposed grade is a bare film for further lamination or a finished adhesive-coated overlaminate. Its place in the construction must remain explicit.
Evaluate small text and codes after the finish is applied. A laminate that looks attractive on a large color panel may not produce the preferred result over fine graphics. Include representative artwork in the trial instead of using only unprinted strips.
Check the complete converting route
Surface treatment and storage
Corona-treated surfaces can change during storage, and contamination can affect bonding. Keep roll identification and handling records. Where the process requires treatment checks, measure shortly before conversion as well as at receiving, using the agreed method and sampling plan.
Do not apply extra corona treatment automatically to every coated grade. Some print-receptive topcoats have their own restrictions. Ask the film or coating supplier whether retreatment is permitted and validate the recommendation before changing settings on a production roll.
Lamination and winding
Qualify the laminate at the intended operating conditions. Record the relevant tension, nip pressure, speed and temperature rather than carrying over settings from another construction. Our film lamination process guide provides background on the different bonding routes.
Use settings that produce even contact without distorting the web. Compare samples across its width and at different points in the roll. A single attractive sample from the start of a run does not establish stable production performance.
Die-cutting and dispensing
Give the die supplier the complete construction, including the overlaminate and liner. Liner caliper and its variation matter when setting the cut. Recheck the tooling when materials change instead of assuming the original setup will still cut and dispense correctly.
Inspect matrix stripping, label edges and liner damage during the trial. Then run converted rolls on the intended applicator. Record label size, gap, winding direction, maximum roll diameter and core size so that material approval also covers practical machine handling.
Printing after lamination
If a batch code or expiry date will be printed after lamination, the overlaminate becomes the printing surface for that operation. Specify the coding method and consumables. A dedicated printable grade may be needed, and the code must survive its expected handling.
Where information is printed before lamination, confirm that it remains readable through the selected finish. Keep quiet zones clear and check contrast, reflections and placement on the actual container. Verify the final barcode, rather than treating one successful phone scan as complete acceptance.
Qualify samples through a defined approval sequence
First establish a traceable reference
Obtain the proposed grade designation, current technical data sheet, component description and sample identification. Ask which values are typical and which are agreed acceptance limits. A technical data sheet describes a product; it does not record the result of your particular production trial.
Keep an approved comparison sample where possible. Mark its film grades, ink system, adhesives, liner and converting date. Without that record, later teams may try to reproduce the appearance while unknowingly changing the construction that originally passed.
Test printing before adding protection
Print representative solids, fine text, white ink where used, and the intended code. Assess drying or cure and ink adhesion first. Covering weakly attached print with a strong laminate can hide the weakness until the construction is peeled or stressed.
Agree a suitable ink-adhesion procedure with the relevant suppliers. FINAT distinguishes ink-adhesion testing from peel adhesion and other label tests. State the method and evaluation criteria in the trial record so that results from different teams can be compared meaningfully.
Evaluate the lamination bond separately
Compare unprinted, lightly printed and heavily printed areas after the specified conditioning period. Look for uneven contact, visible bubbles and separation. Record both the apparent strength and the failure location; a numerical result without the failure mode can conceal the actual problem.
If a supplier proposes a different adhesive or film, change one factor at a time where practical. Retain samples of the previous combination. This makes it easier to identify whether the improvement comes from the material change or an unrelated process adjustment.
Test the label on its intended package
Use production-representative containers, including their normal surface condition and application temperature. Define the delay before exposure testing. A label applied to a clean laboratory panel may behave differently on the actual package, particularly if contamination or condensation is present.
Choose exposures from the real distribution and use conditions. Observe edge lift, graphic damage, visible haze, layer separation and code readability. Keep photographs and written observations at agreed intervals; avoid an unspecified pass after a quick wipe that no one can reproduce.
Approve the production result
Repeat the relevant checks on a converted roll, not only hand-laminated sheets. Observe unwind, web tracking, cutting, waste removal and application. Include starts, stops and normal production handling where these are part of the intended operating process.
Define what must trigger requalification: a face-film grade change, new ink system, different laminating adhesive, altered liner or revised coating. Agree who communicates the change and who approves the result. A previous approval applies to the tested combination and conditions.
Diagnose the failing interface before changing materials
Visible symptoms help narrow the investigation, but they do not prove one cause. Use the following table to choose an initial check. Compare affected and unaffected samples, and preserve the rolls and production records needed to trace the difference.
| Observed symptom | Initial investigation | Useful comparison |
| Silvering or small reflective patches | Trapped air, uneven printed surface, adhesive wet-out and nip conditions | Same print with the approved laminate under controlled settings |
| Print lifts when the laminate is peeled | Ink cure, ink-to-facestock adhesion and where separation occurs | Printed sample before lamination versus the completed label |
| Label edges lift from the container | Container adhesive, surface condition, curvature and construction stiffness | Same label on the actual container under controlled application conditions |
| Waste matrix pulls labels away | Die setup, complete construction and liner properties | Approved stock versus the changed stock on the same tooling |
| Code becomes difficult to read | Contrast, quiet zone, finish, damage and container position | Verified code before and after lamination and application |
Silvering often involves small air pockets under a laminate. Pressure, speed and contact with the printed surface deserve attention, but a process adjustment cannot make every adhesive compatible with every print. Compare materials as well as settings when the first checks do not resolve it.
Avoid solving one symptom by creating another. For example, increasing pressure may change web handling, while a different laminate may alter stiffness or appearance. Recheck the other agreed acceptance points after the corrective action rather than approving only the symptom that disappeared.
For a disputed result, send the supplier both a failed sample and the trial conditions. Include a labeled cross-section and photographs showing the separation. This is more actionable than describing the entire construction as poor-quality BOPP without identifying the affected layer.
Compare quotations on the same purchasing basis
Start with the same delivery stage. A bare facestock quotation cannot be compared directly with an adhesive labelstock price. Similarly, a bare protective film excludes operations and materials already included in a ready-to-use coated overlaminate.
List what each offer includes: film, coating, adhesive, liner where applicable, slitting, printing, die-cutting and packing. Separate the components that your own converter will add. This exposes differences before an apparently lower price becomes a more expensive production route.
Normalize the quantity basis. If one offer is per kilogram and another per square meter, request the relevant yield or area weight for the exact construction. Use the supplier’s grade data; a single generic density is not suitable for every clear, filled or cavitated film.
Define whether quoted thickness refers to base film, film plus coating, or complete labelstock including the liner. Ask for the measurement method and tolerance. Two offers with the same nominal number may describe substantially different materials.
Roll compatibility also affects usable cost. Confirm width tolerances, length or diameter, core, winding orientation and allowed splices. Include the realistic cost of trial material, converting waste and processing steps when choosing between technically acceptable options.
A practical enquiry for facestock
State whether you require bare film or adhesive labelstock. Identify clear or opaque appearance, intended printing system, target film thickness, coating operations, container and end-use conditions. Add the required roll format and trial quantity, then request the proposed grade and supporting data.
A practical enquiry for overlaminate
Describe the existing facestock, print technology and exposed ink or varnish. State whether you need bare film, pressure-sensitive coated film or a thermal product. Include finish, application equipment, later coding, service conditions and the tests the trial must pass.
When uncertain about a detail, describe the operation instead of guessing a material code. A photograph of the current roll label, the printing sequence and a marked sample can help a supplier identify what remains to be specified.
Questions that often arise during material selection
- Can a BOPP overlaminate replace the facestock?
Only after the grade is qualified for the new role. Check its print surface, reverse-side compatibility, mechanical handling and conversion. A film designed as a protective outer layer may lack the coatings or stiffness needed for the proposed label body.
- Does every BOPP label need an overlaminate?
No. Choose protection from the actual exposure and required finish. A suitable varnish or another construction may meet the application. Compare matte film and matte varnish when the main question is how to create and protect a low-gloss surface.
- Is an IML film the same purchasing specification?
No. In-mold labeling has its own printing, handling and molding requirements. An IML film enquiry should identify that process explicitly. The pressure-sensitive facestock, container adhesive and release-liner construction described here should not be assumed for an IML project.
- Does a BOPP face and BOPP overlaminate prove recyclability?
No. Assessment depends on the package and recycling stream, including inks, coatings and adhesives. APR evaluates labels and adhesives within its rigid-PP packaging protocol. Matching the two film polymers alone does not establish acceptance of the complete package in a particular recycling system.
Discuss the film layer with CloudFilm
For a film enquiry, contact CloudFilm with the layer you are buying, the converting steps you will perform, and the required appearance. Include target thickness, roll width, print or lamination process and trial quantity.
If you require adhesive-coated labelstock, self-wound overlaminate or finished printed labels, state that delivery form explicitly so availability can be confirmed. The quotation should identify the exact supplied product and the processing that remains before it becomes your finished label.