Introduction
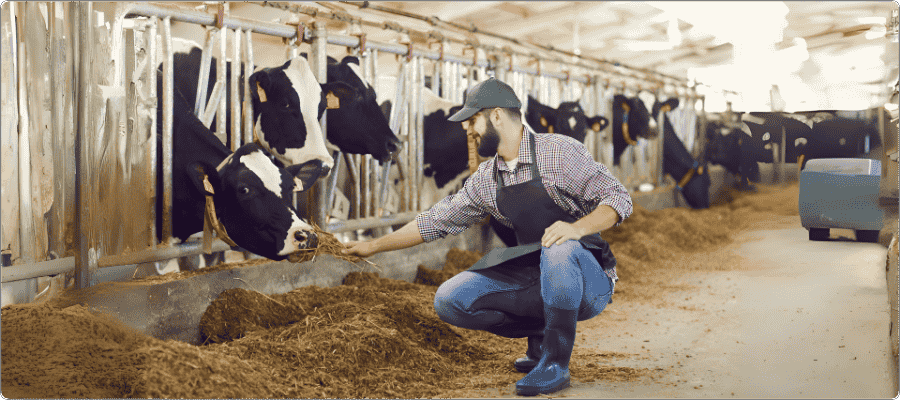
Silage is a crucial component of modern livestock farming, providing high-energy feed for dairy cows, beef cattle, and other ruminants throughout the year. Whether you are a small-scale farmer or a large-scale feed producer, understanding the silage making process is essential to ensuring the quality and nutritional value of your feed.
In this comprehensive guide, we will walk you through every step of how to make silage, from selecting the right crops to proper storage techniques. We’ll also explore common challenges and best practices to help you maximize your success.
At the same time, this guide helps you understand how the choice of silage film, bale wrap and PE covers directly affects silage quality, so you can plan both your agronomy and packaging materials in a coordinated way.
By the end, you will know not only how to make silage correctly, but also when to work with a specialized supplier like CloudFilm for silage PE film, LDPE/LLDPE agricultural films and related packaging solutions that protect your harvest and reduce waste.
What Is Silage?
Silage is fermented, high-moisture fodder that can be fed to livestock. It is made through a process called ensiling, where crops like corn, grass, or legumes are cut, compacted, and stored in anaerobic conditions to promote fermentation. This process preserves the nutrients and enhances digestibility.
In practical terms, silage turns fresh forage into a stable, pickled feed by letting beneficial lactic-acid bacteria work in an oxygen-free environment, which is only possible when the forage is tightly packed and well covered by reliable silage film.
Why Make Silage?
- Year-round feed supply: Silage allows farmers to store feed for use during dry seasons or winter months.
- Nutritional preservation: Properly made silage retains most of the original nutrients in the forage.
- Cost-effective: Reduces reliance on purchased feed, lowering overall feeding costs.
- Improved animal health: High-quality silage supports better milk production and weight gain.
In addition, well-made silage reduces field and storage losses, supports more consistent rations and helps dairy and beef operations stabilize feed costs over multiple seasons.
When combined with durable silage wrap and PE cover films, farmers and feed contractors can significantly cut spoilage on the surface and edges of silage piles, further improving return on investment.
Step-by-Step Silage Making Process
1. Crop Selection and Harvest Timing
The quality of silage starts with the crop. Common silage crops include:
- Corn
- Alfalfa
- Sorghum
- Grasses (e.g., ryegrass, fescue)
Harvest Timing:
Crops should be harvested at the optimal moisture content:
- Corn silage: 60–70% moisture
- Grass silage: 65–75% moisture
- Legume silage: 60–70% moisture
Harvesting too early or too late can affect fermentation and feed quality.
Whenever possible, use simple on-farm tests (such as microwave dry-matter checks or laboratory analysis) to confirm moisture, instead of relying only on visual judgment.
2. Chopping the Crop
Once harvested, the crop must be chopped into small pieces to facilitate compaction and fermentation.
- Recommended chop length:
- Corn silage: 6–12 mm
- Grass and legume silage: 5–10 mm
Using a precision forage harvester ensures uniform chop size, which improves packing efficiency.
Uniform particle size also helps cows sort less at the feed bunk and maintain a stable rumen function, which is vital for high milk yields.
3. Wilting (Optional)
For high-moisture crops like fresh grass, wilting may be necessary to reduce moisture content. Spread the chopped material in the field for a few hours to allow evaporation. This step helps prevent undesirable fermentation and nutrient loss.
Avoid over-wilting the forage; excessively dry material is harder to compact and can lead to air pockets and mold formation in the finished silage.
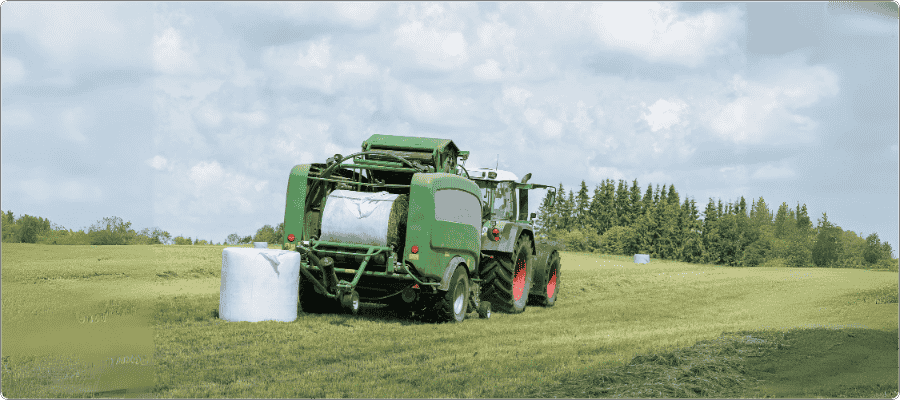
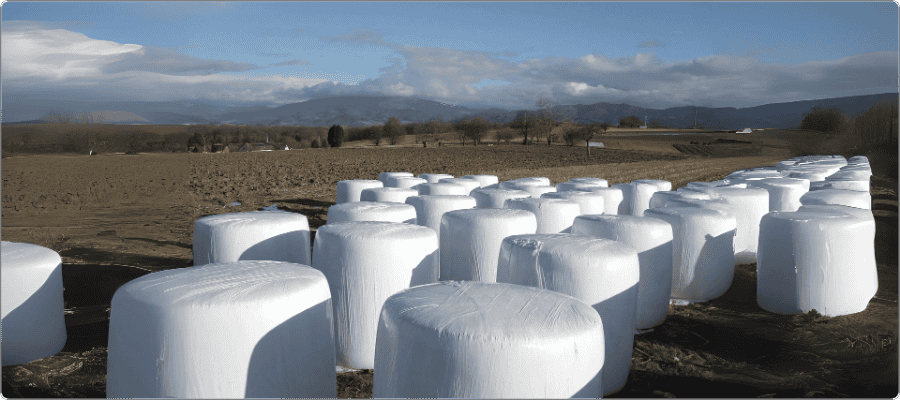
4. Use a Silage Baler for Efficient Packing
A silage baler is a specialized machine that compresses chopped forage into compact bales and wraps them tightly with plastic film. This step is crucial for maintaining anaerobic conditions and preventing spoilage.
Modern silage balers come in various types, including round and square balers, with options for integrated wrapping systems. Using a silage baler not only improves efficiency but also enhances the quality and shelf life of your silage.
When you use high-stretch silage wrap together with a well-set baler, you can achieve dense, uniformly wrapped bales that resist puncture and air ingress during handling and storage.
CloudFilm can supply PE-based Silage Film that matches most common round and square balers, helping contractors and farmers wrap bales quickly while keeping oxygen out.
5. Adding Additives (Optional)
Silage additives can enhance fermentation and improve silage quality:
- Inoculants: Beneficial bacteria that speed up fermentation.
- Acids: Help lower pH quickly, especially in high-moisture crops.
- Absorbents: Such as dry beet pulp, used to reduce excess moisture.
Consult with an expert to choose the right additive for your needs.
Additives are most effective when the basics are correct: the crop moisture is in range, chop length is suitable, and the silage is rapidly compacted and sealed with good-quality film.
6. Compaction
Proper compaction is critical to remove oxygen and create anaerobic conditions.
- Use a tractor or heavy machinery to pack the silage tightly.
- Layer the material in thin lifts (10–15 cm) and compact each layer thoroughly.
- Aim for a density of at least 225 kg/m³ (wet basis).
Poor compaction leads to aerobic spoilage and nutrient loss.
For bunkers and pits, try to keep the filling rate and packing capacity balanced, so that each layer is compacted soon after spreading instead of waiting until the end of the day.
7. Sealing
Once compacted, the silage must be sealed immediately to prevent air exposure.
- Use high-quality, oxygen-barrier silage films to cover the pile or bunker.
- Ensure the film is weighted down with tires, sandbags, or gravel to create a tight seal.
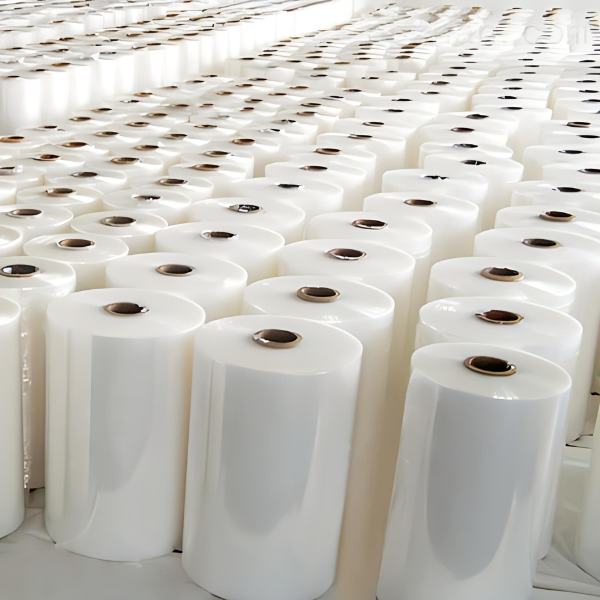
At CloudFilm, we provide premium silage films designed for maximum durability and oxygen barrier performance, ensuring your silage stays fresh and nutritious.
For exposed surfaces such as bunkers and clamps, many users combine a primary Silage Film
with protective PE covers like PE Roll to guard against bird damage, hail, and UV exposure.
Choosing multi-layer PE films with good puncture resistance and UV stability reduces the risk of pinholes and tears, which can otherwise cause heating and spoilage near the film.
8. Fermentation
Fermentation typically takes 2–4 weeks. During this period:
- Anaerobic bacteria convert sugars into lactic acid.
- The pH drops to around 4.0–4.5, preserving the silage.
- Temperature should be monitored to avoid overheating.
Do not open the silo or unwrap bales too early; premature feedout interrupts fermentation, increases dry matter loss and can lead to unstable silage in the feed bunk.
9. Storage and Feedout
Proper storage is key to maintaining silage quality:
- Store in a cool, dry place away from direct sunlight.
- Inspect regularly for damage to the covering film.
- During feedout, remove only what is needed for a few days to minimize air exposure.
For bunkers, try to maintain a clean, straight face and move across the front at a rate that limits the time any exposed silage is in contact with air. For wrapped bales, repair any film damage immediately using appropriate silage tape.
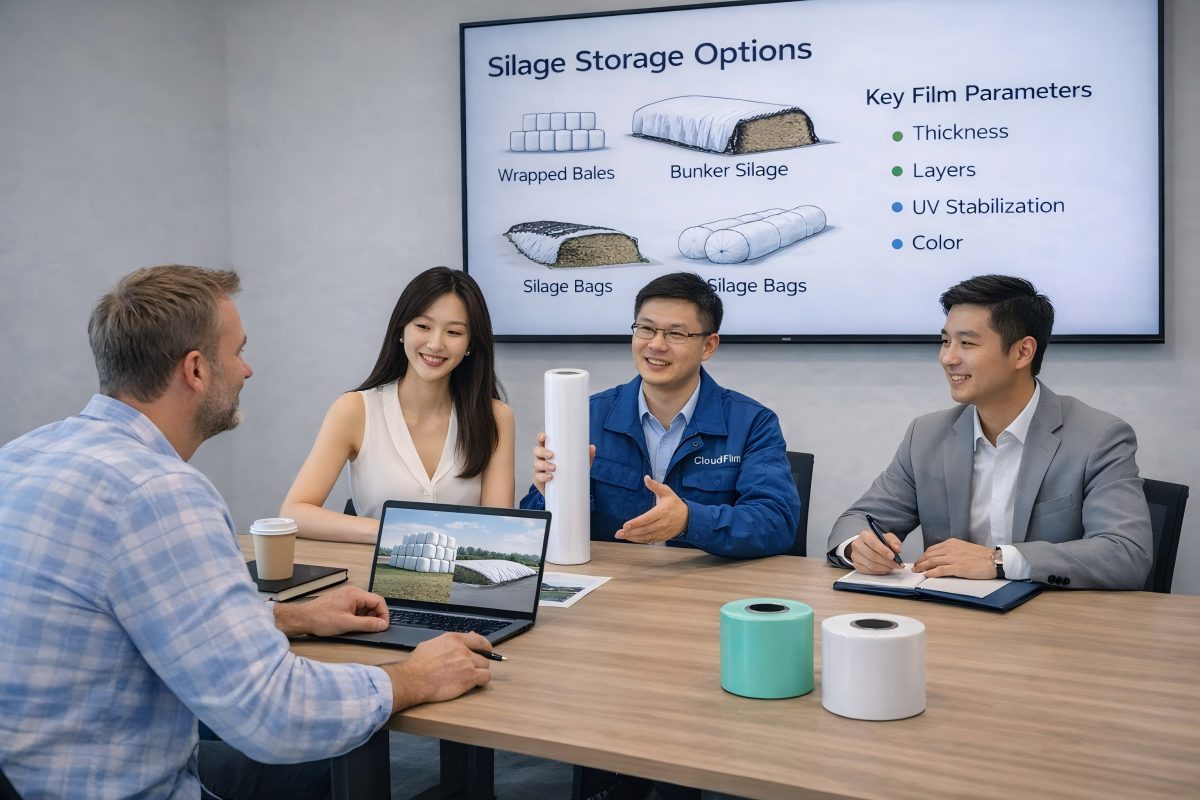
Types of Silage Storage and Wrapping Methods
Different storage systems call for slightly different film choices and management practices, but they all rely on the same principle: dense packing plus reliable PE film barriers.
Common silage storage and wrapping methods include:
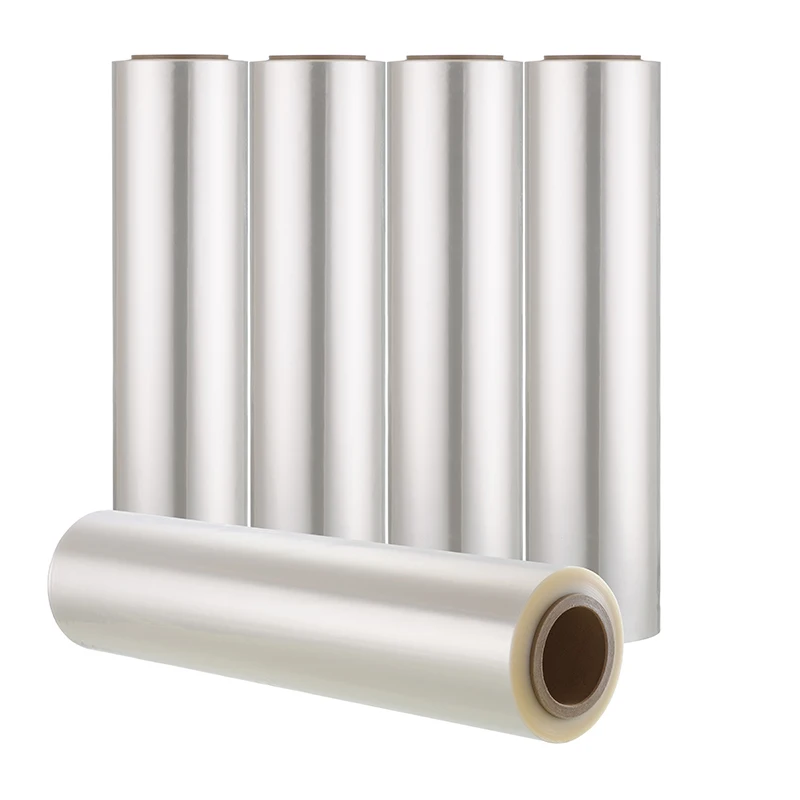
- Bunker and trench silos – Large volumes of forage are compacted into a pit or concrete bunker and then covered with primary silage film plus a protective top sheet. For this application, many users combine dedicated Silage Film
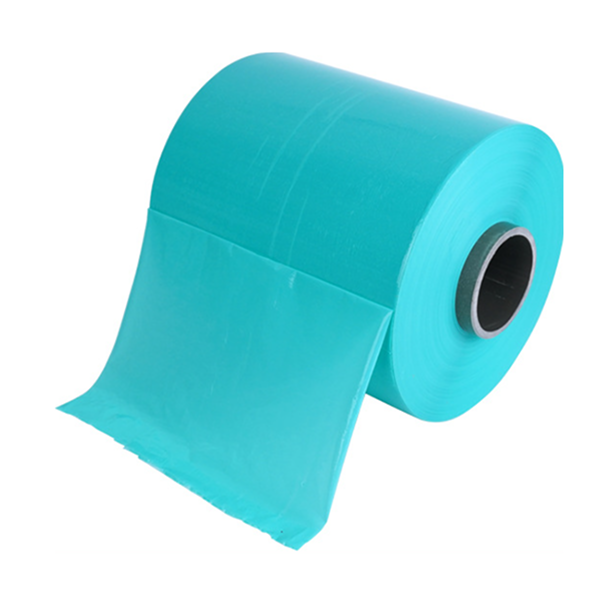
with heavy-duty PE covers such as PE Roll or high-strength films based on LDPE/HDPE. - Wrapped round or square bales – Chopped or long forage is baled and then wrapped multiple layers with stretchable silage film. Here, high-stretch, puncture-resistant silage wrap is critical to prevent oxygen ingress during handling and storage.
- Silage bags and tubes – Forage is blown into long plastic tubes, which act as both container and barrier. These are also PE-based films with high UV stability and good tear resistance.
By understanding your preferred storage method in advance, you can discuss the right PE film combination with CloudFilm and avoid over- or under-specifying film thickness, color and UV package.
How to Choose the Right Silage Film
Choosing silage film is not only about price; it is about matching film performance to your climate, crop and storage method.
When evaluating silage film, consider:
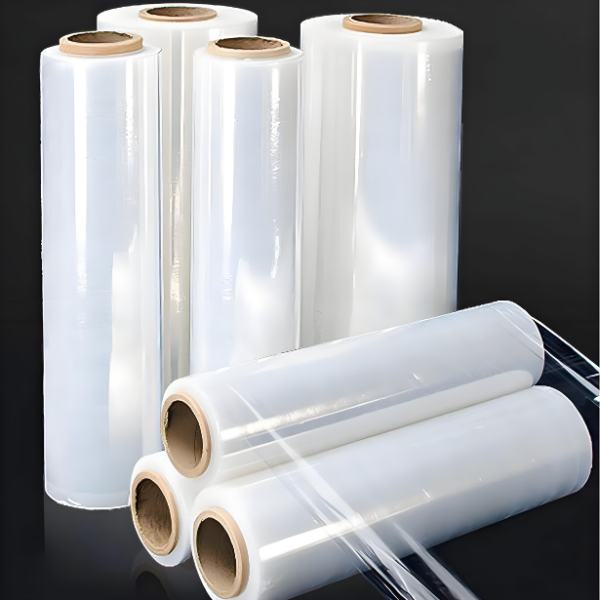
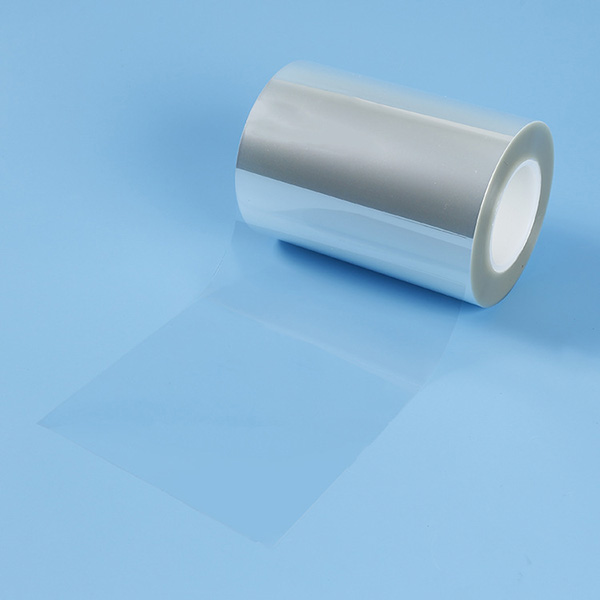
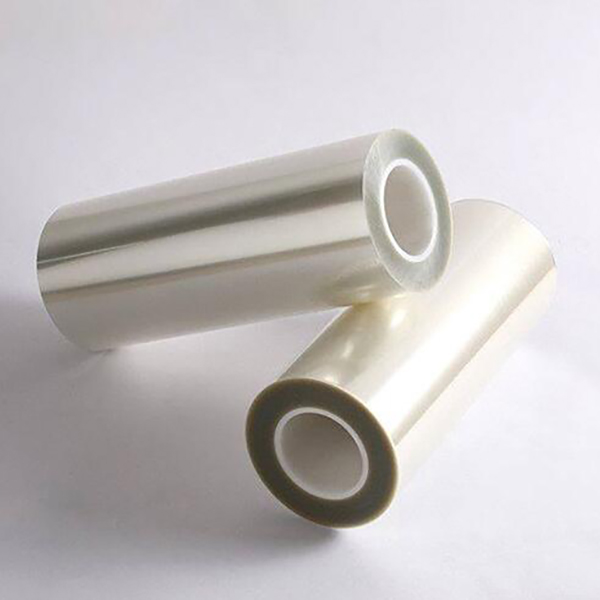
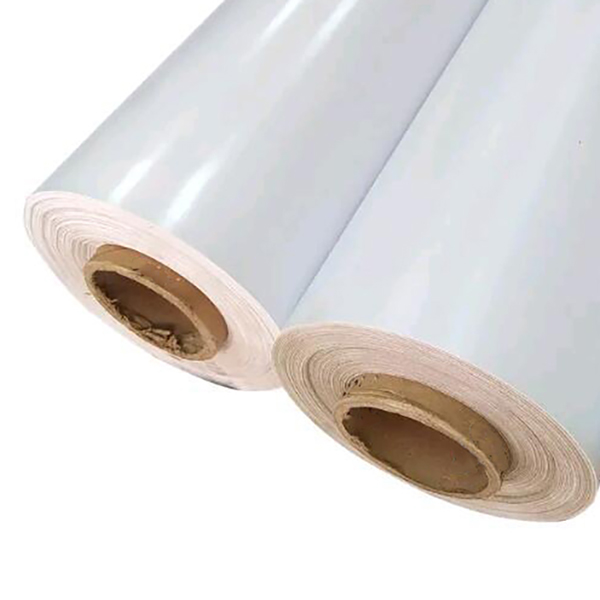
- Film structure and material – Most silage films are multi-layer PE films. CloudFilm’s Silage Film is designed as a specialized PE agricultural film for bale wrapping and bunker covering.
- Puncture and tear resistance – Rough forage, stubble and handling can damage thin films. Where forage is coarse or handling is intensive, you can combine silage wrap with stronger cover films such as LDPE Film or HDPE Film used as outer protective sheets.
- Stretchability and cling – For bale wrapping, the film must stretch uniformly and maintain good cling between layers. CloudFilm’s PE portfolio, including LLDPE Film, provides strong mechanical properties that help achieve tight, uniform wraps.
- UV stability – Outdoor storage demands adequate UV stabilizers. Discuss your storage time and local solar intensity with CloudFilm so the silage film is tailored to your region.
- Color and opacity – White or light-colored films keep bales cooler in hot climates, while black films absorb more heat. Some users choose combination films to balance temperature and algae control.
By sharing details such as bale size, wrapping machine type, climate, and expected storage duration, you enable CloudFilm engineers to recommend realistic thickness ranges and film grades instead of choosing blindly from generic catalogues.
Common Challenges and Solutions
| Challenge | Solution |
|---|---|
| Mold growth | Ensure proper sealing and compaction |
| Poor fermentation | Use additives and check moisture levels |
| Nutrient loss | Minimize air exposure during feedout |
| Spoilage at edges | Use weighted, high-quality film |
In many cases, these issues are interconnected—poor compaction and damaged films allow air penetration, which leads to heating, mold and nutrient loss—so it is important to review the whole system instead of treating each problem in isolation.
Working with a film supplier that understands both PE film technology and silage practice, such as CloudFilm, makes it easier to identify whether problems are mainly agronomic, mechanical or film-related.
Best Practices for High-Quality Silage
- Harvest at the right moisture content.
- Chop uniformly for better compaction.
- Use additives when necessary.
- Compact thoroughly and seal immediately.
- Monitor during storage and feedout.
In addition, keep detailed records of harvest dates, crop types, moisture levels, additive use and film specifications. These records help you and CloudFilm’s technical team quickly trace back issues and fine-tune future campaigns for better consistency.
How CloudFilm Supports Your Silage Projects
CloudFilm is not only a PE film manufacturer; it is a solution partner that helps you protect forage quality from field to feed bunk.
Key ways CloudFilm can support your silage projects include:
- Dedicated Silage Film – CloudFilm’s Silage Film is developed specifically for grass and corn silage, offering excellent UV stability, puncture resistance and airtight sealing for round bales, square bales and bunker covers.
- Complete PE Film Portfolio – Through products such as PE Roll, LDPE Film, LLDPE Film and HDPE Film, CloudFilm helps you build a full PE film system for agricultural covers, silage protection, greenhouse films and general packaging.
- Technical Guidance – If you are unsure about film thickness, color, or additives, CloudFilm’s engineers can review your current specifications, storage method and climate, then recommend realistic ranges instead of “one-size-fits-all” choices.
- Export and OEM Support – With long export experience, CloudFilm supports distributors, agricultural dealers and large farms with customized branding, documentation and shipment coordination.
Whether you are a farmer, a contractor or an agricultural film distributor, you can send CloudFilm your current silage specifications (bale size, film type, storage time, climate) and receive a tailored proposal plus trial rolls for testing before large orders.
FAQ: Practical Questions About Silage & Silage Film
Q1. How many layers of silage film should I use when wrapping bales?
For most round bales in moderate climates, 6–8 layers of quality silage wrap are common. In harsher climates, for high-value forage or where bales will be stored for longer periods, some users increase to 8–10 layers. The exact number depends on forage type, handling intensity and film quality, so it is best to confirm with your CloudFilm representative based on your project details.
Q2. What thickness of silage film is normally used?
Typical silage films for bale wrapping are in the range of 25–30 μm per layer, while covers for bunkers and trenches may be thicker. When you contact CloudFilm, share your bale size, storage method and climate so we can recommend a realistic thickness range instead of over- or under-designing the film.
Q3. Can I use general PE film instead of dedicated silage film?
In some low-risk situations, basic PE film can be used as a secondary cover, but for bale wrapping and critical oxygen barriers, dedicated Silage Film is strongly recommended. Silage films are engineered for stretchability, puncture resistance and long-term outdoor exposure, which general packaging films may not provide.
Q4. How long can silage be stored if wrapped and covered properly?
When properly ensiled, well-sealed silage can often be stored for 12 months or more without major quality loss. However, actual storage life depends on crop type, dry matter, density and film performance, so regular inspection for damage and timely repair remain essential.
Q5. I am a distributor of agricultural film. How can I cooperate with CloudFilm?
If you are an agricultural film dealer or distributor, you can share your target markets, typical silage sizes, preferred film colors and expected annual volume with CloudFilm. We can then propose silage film and PE film combinations, private-label options and shipment plans tailored to your business. Trial rolls and technical datasheets can be provided to support your local marketing and customer trials.
Q6. What information should I prepare before asking CloudFilm for a silage film quote?
To get a fast and accurate quotation, prepare:
- Type of silage (grass, corn, mixed forage)
- Bale type and size or bunker dimensions
- Storage method and expected storage time
- Local climate (especially temperature and solar intensity)
- Annual volume estimate and whether you need OEM branding
Sharing these details up front allows CloudFilm to propose realistic film thickness, color, UV package and pricing, and to recommend complementary products such as PE roll or LDPE/LLDPE films where needed.
Conclusion
Making high-quality silage is both a science and an art. By following the steps outlined in this guide and paying attention to detail, you can ensure a consistent, nutritious feed supply for your livestock year-round.
At CloudFilm, we’re committed to supporting farmers with innovative silage solutions. If you have questions or need premium silage films, feel free to reach out to our team. Happy silage making!